Find a Blog Template You Like
Vercel supports a wide range of blog templates from various frameworks, such as nextjs, astro, express, hexo, and more. You can choose a template you like on platforms like GitHub (99% of them can be directly deployed on Vercel).
The template I use is as follows, which is a blog template built with the astro framework.
After selecting a template, remember to fork it to your own repository. This means your GitHub account should have the blog repository (Vercel will import it directly from your GitHub repository later).
Deploy the Blog on Vercel
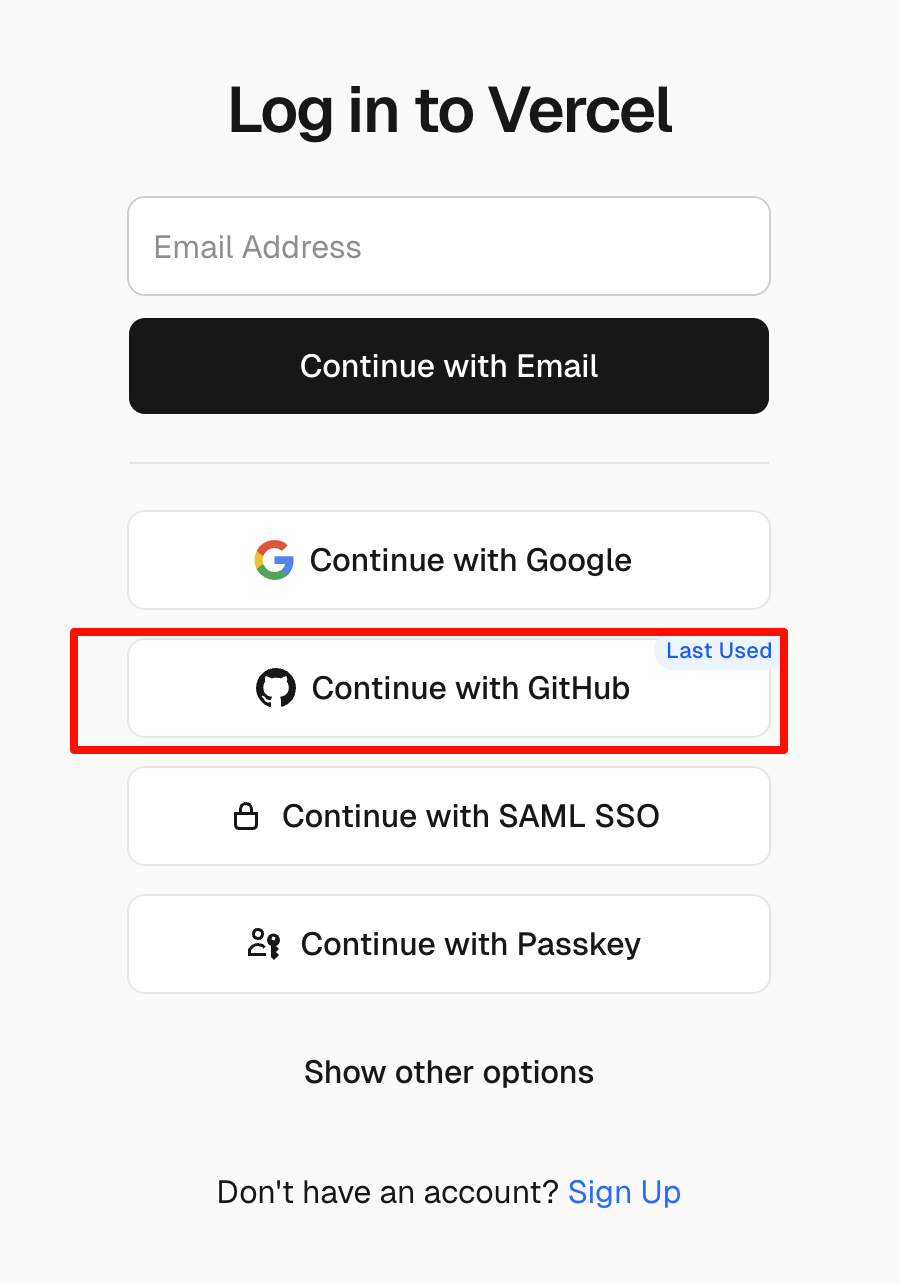
Log in to Vercel. It is recommended to log in directly using your GitHub account.
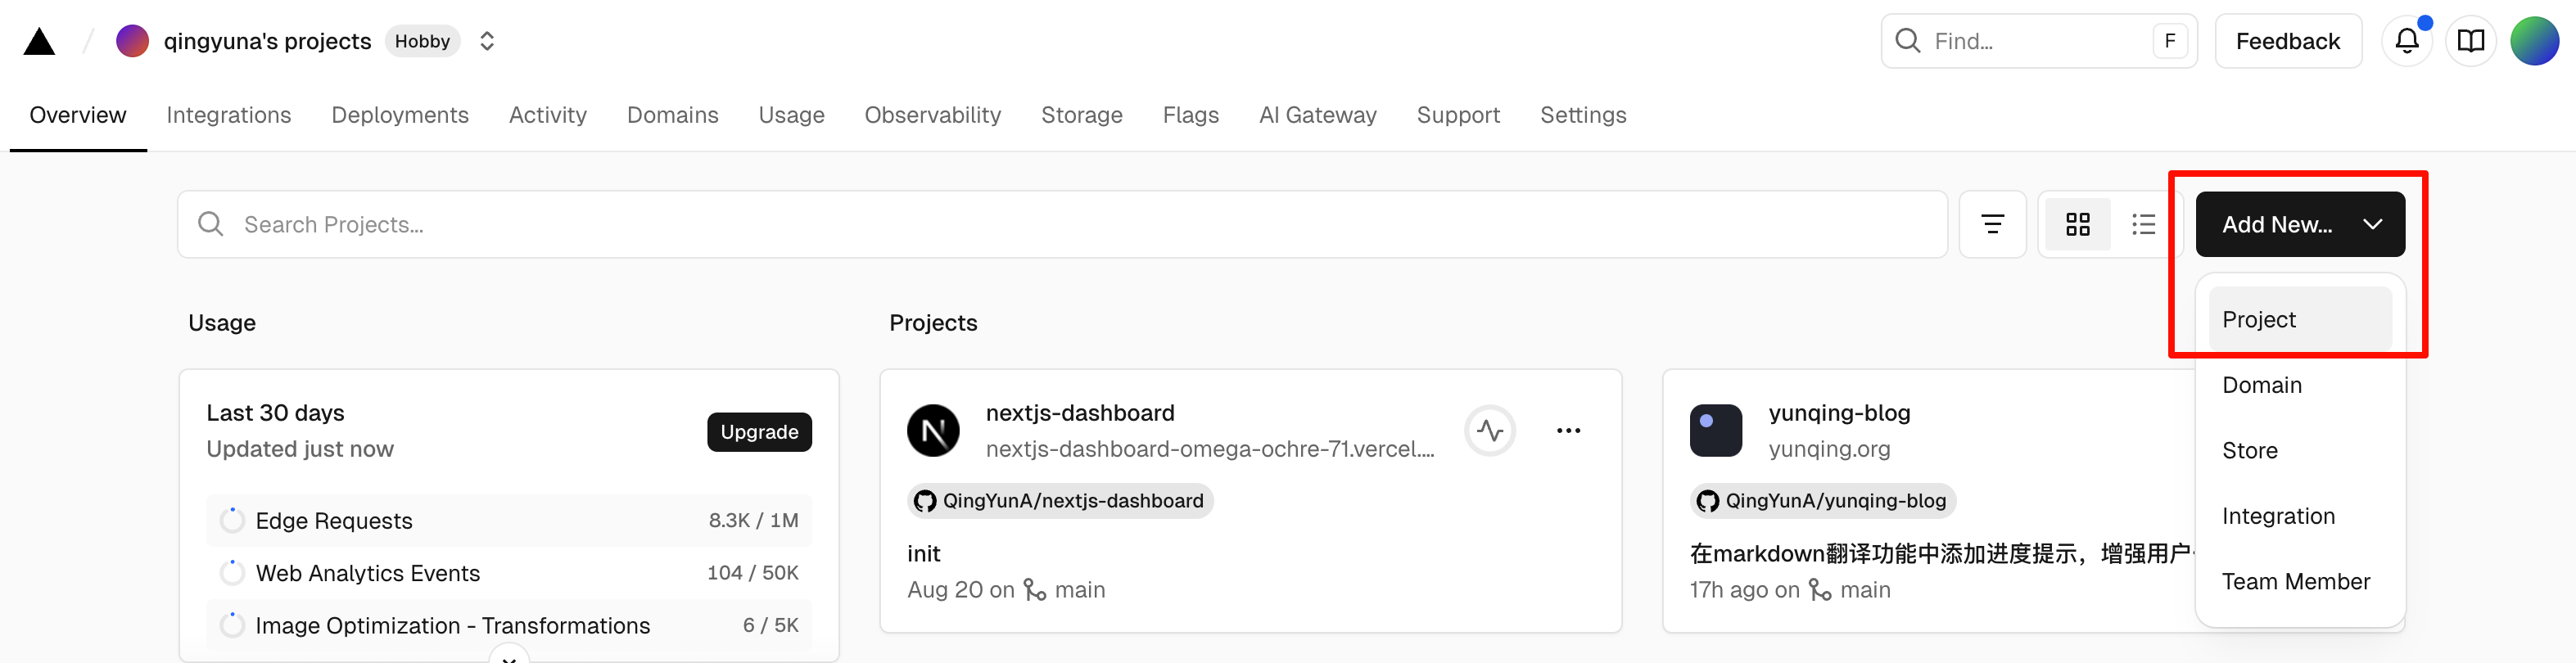
After logging in, click Add New on the right and select Project.
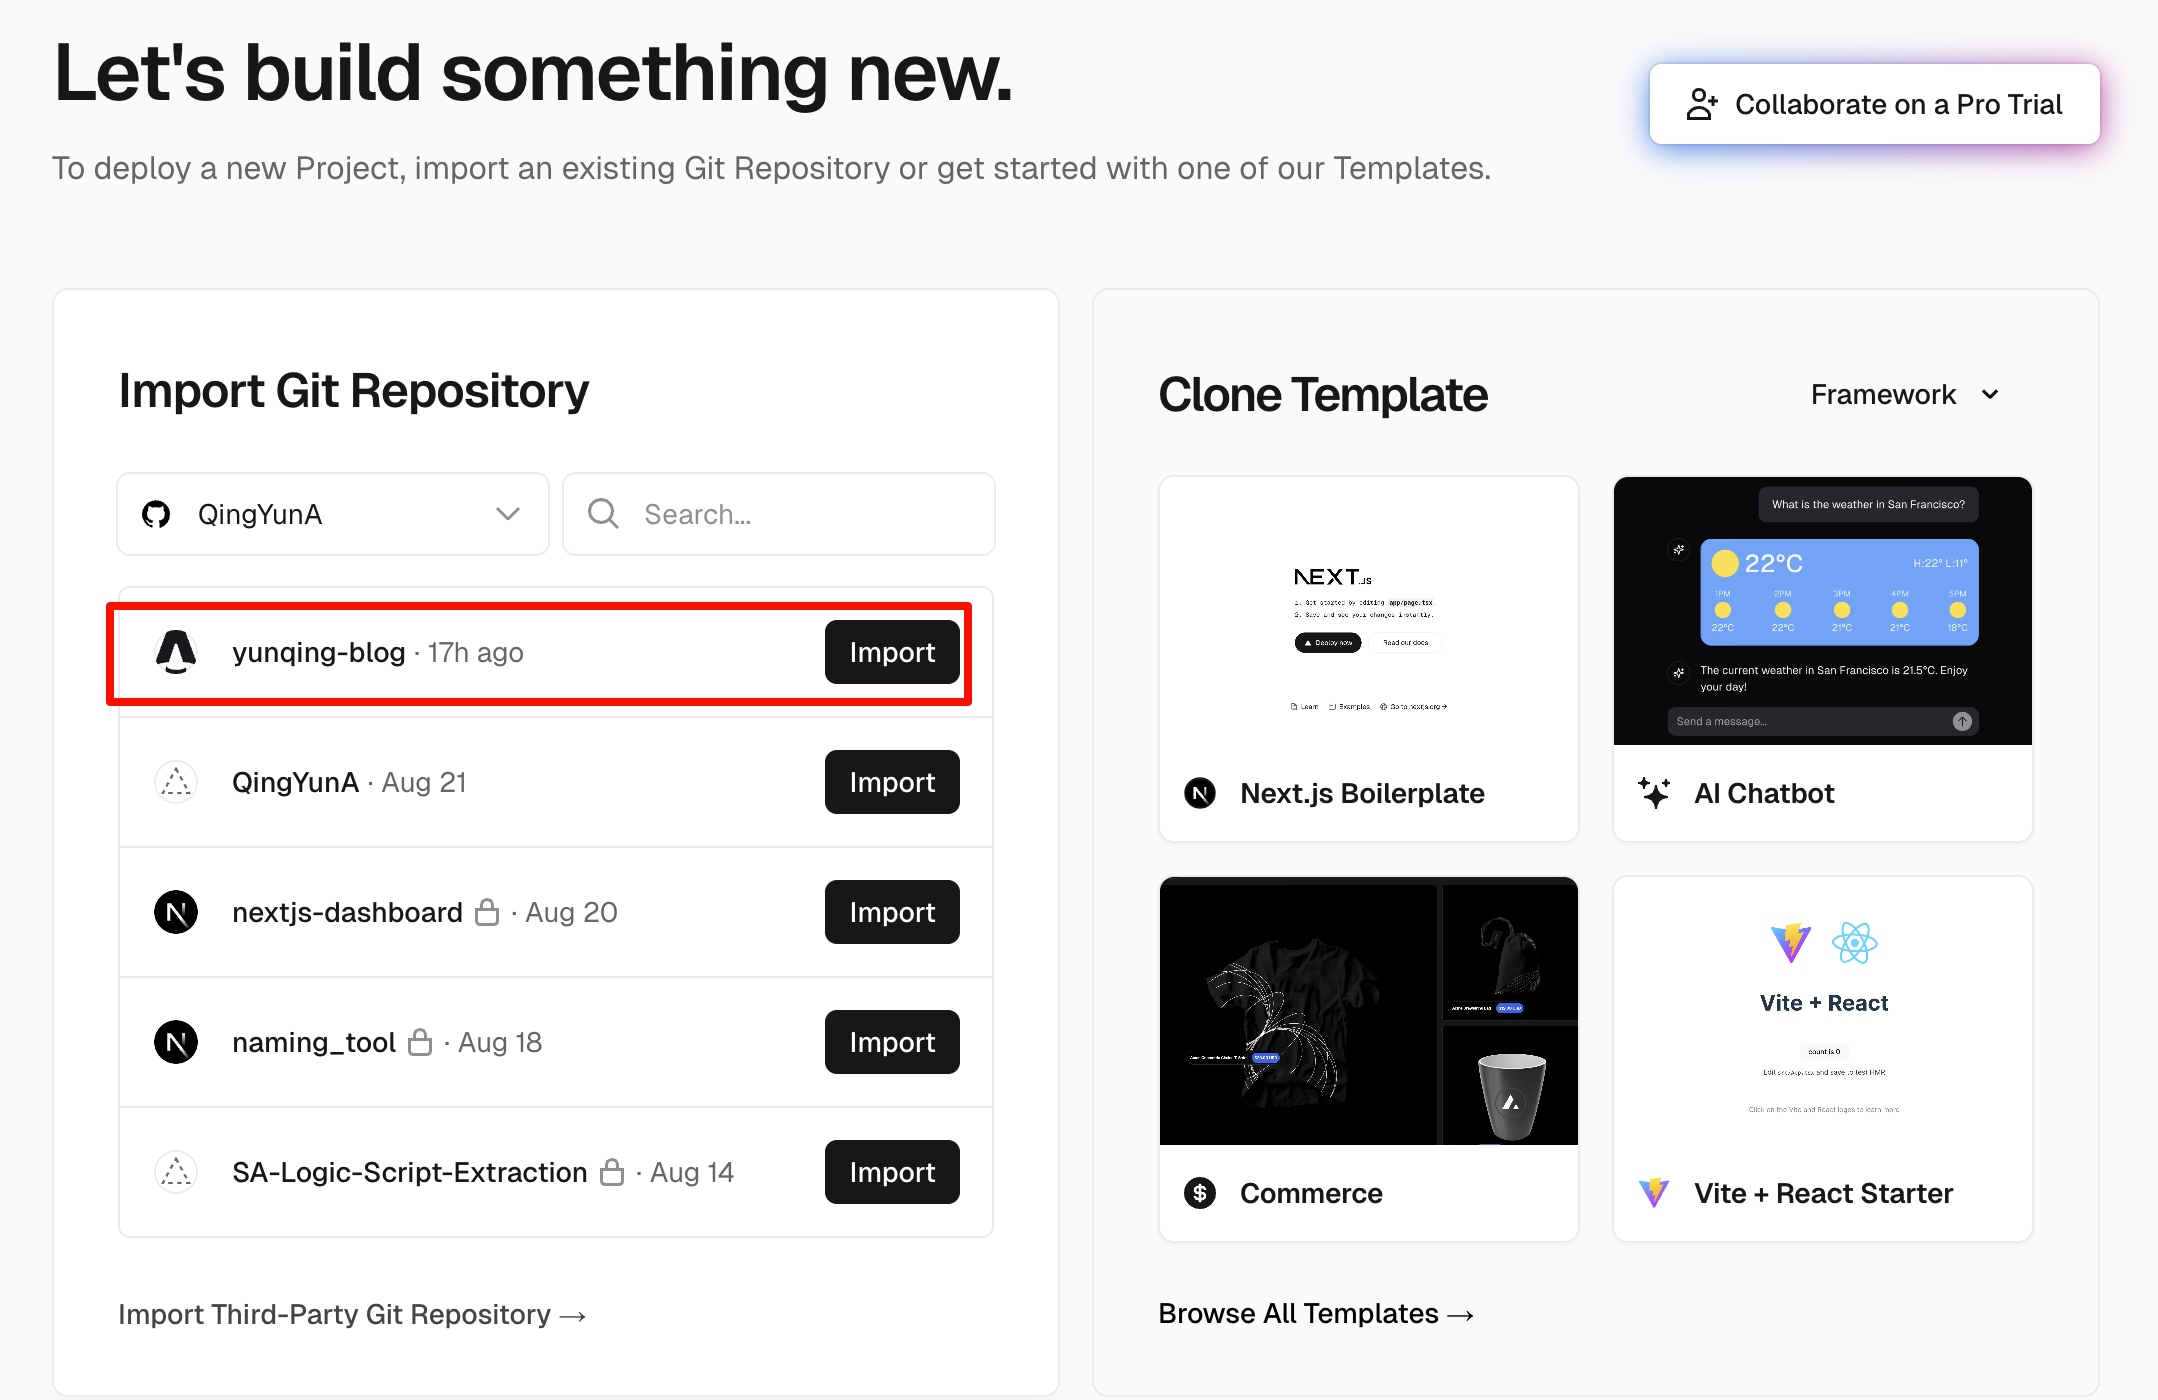
Select the template you want to use from your repository and click Import.
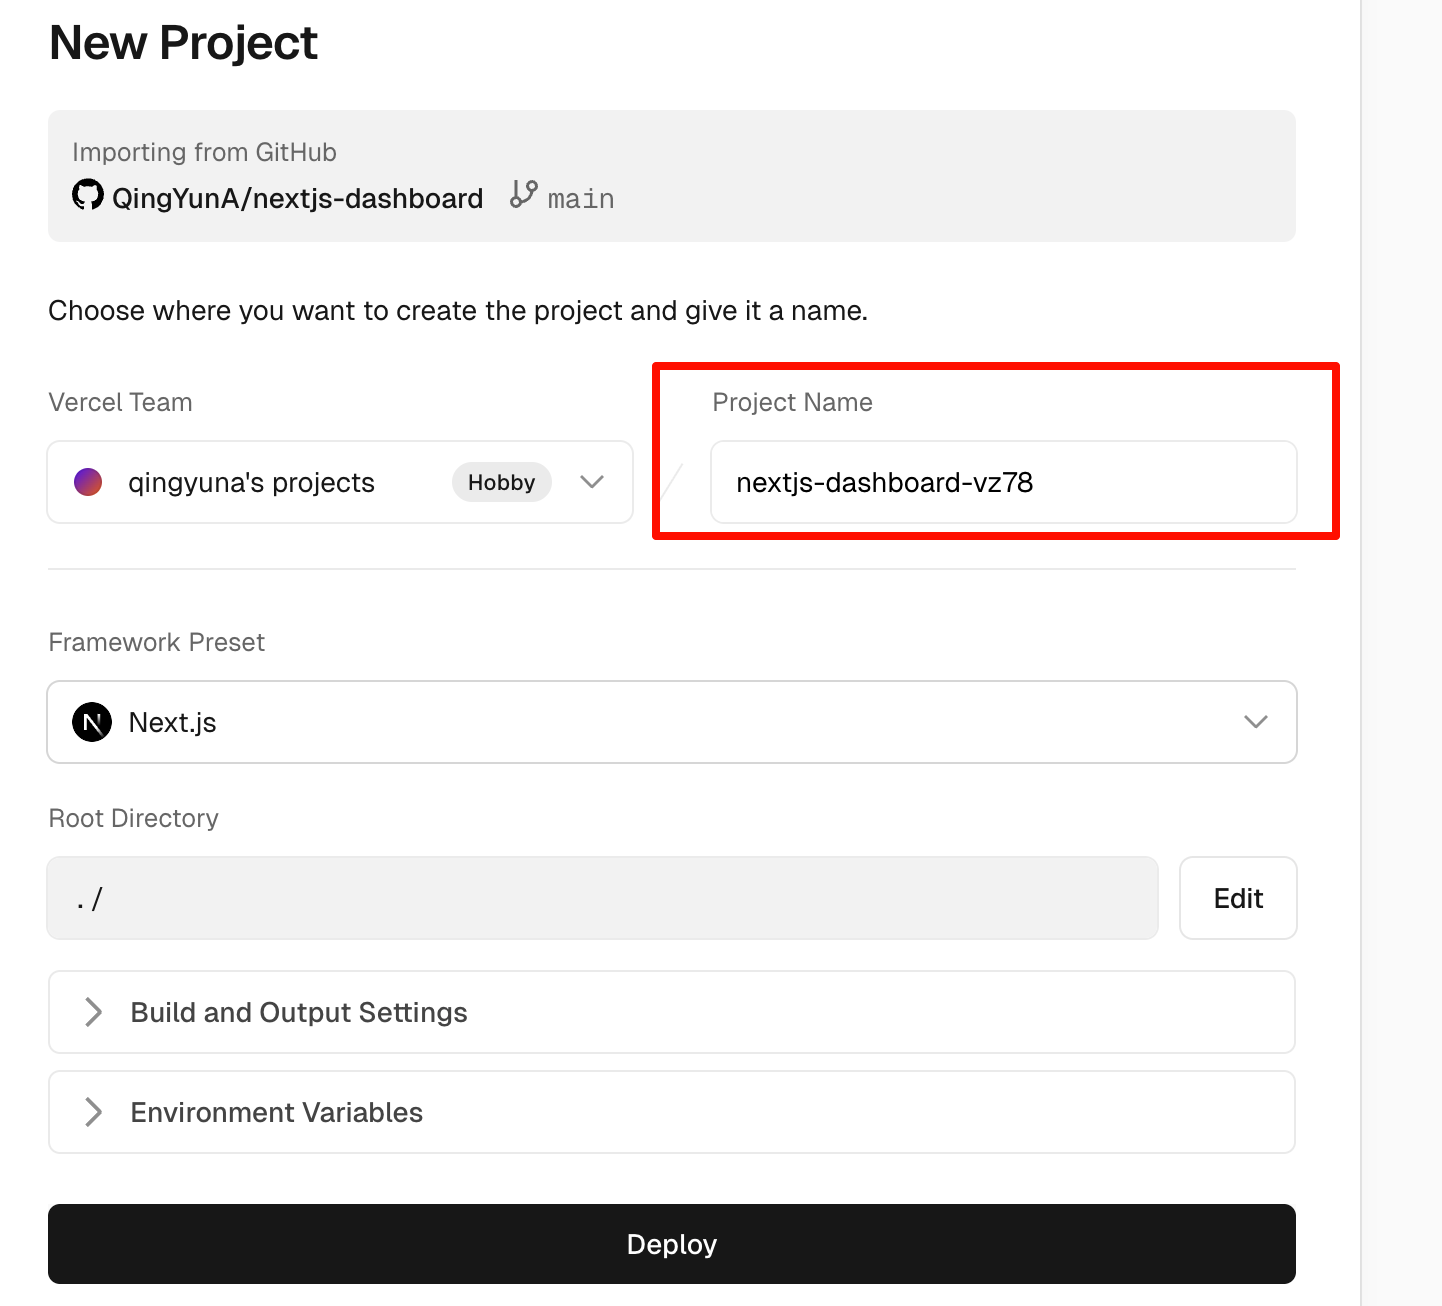
Once you enter this interface, normally you only need to modify the Project Name. The framework used by the blog will be automatically recognized.
Note: If the repository involves some
Environment Variables, you can configure them in theEnvironment Variablessection at the bottom.
Wait for 2-3 minutes, and Vercel will successfully deploy your blog.
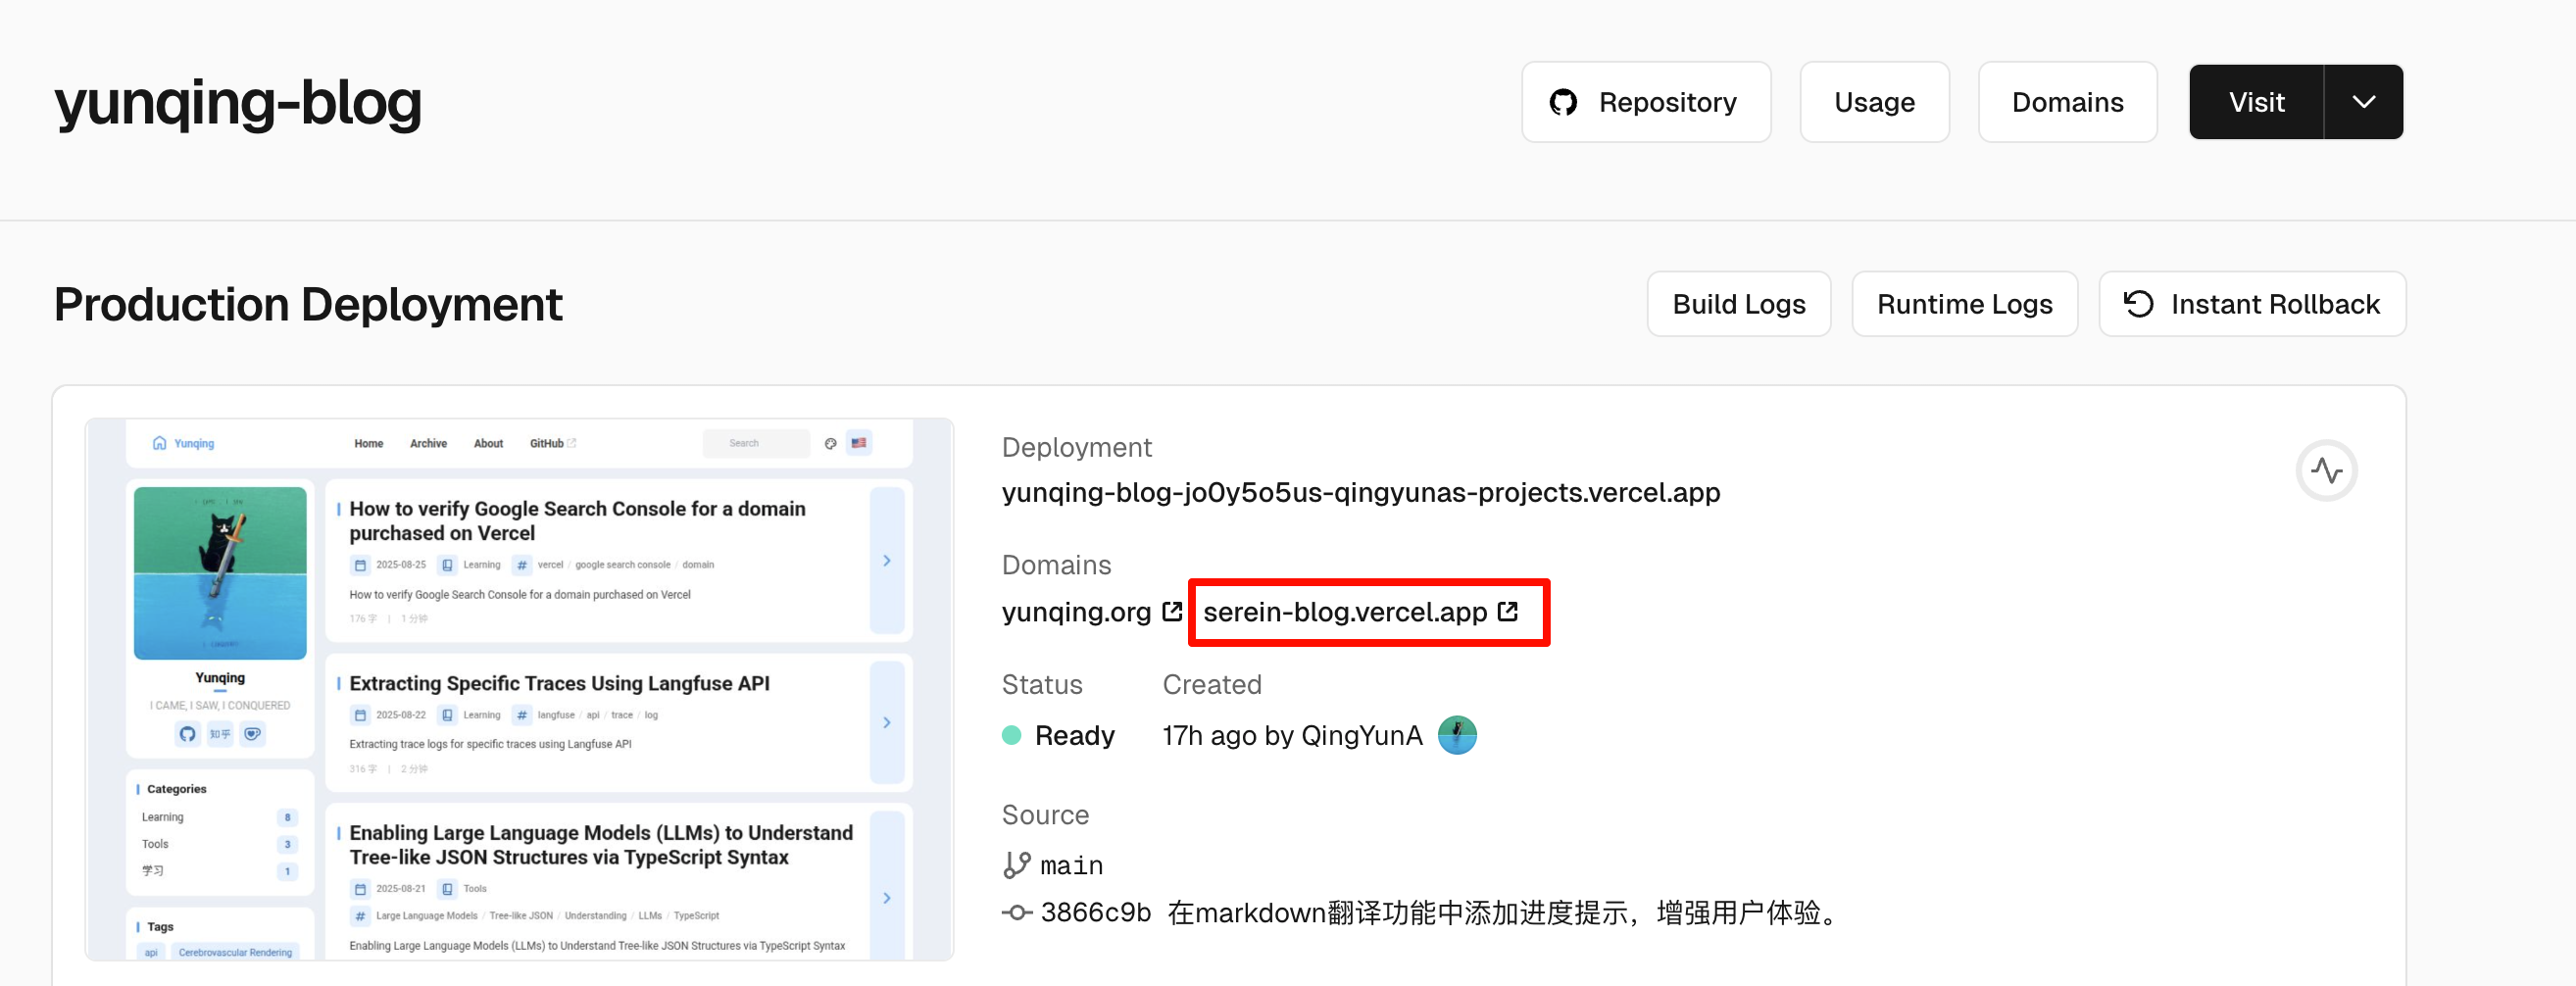
At this point, Vercel will provide you with a blog address ending with vercel.app, which can be directly accessed on the public network.
Add Your Own Domain (Optional)
Of course, we all want our blog to have a unique domain name. The process of purchasing a domain name will not be detailed here. Recommended domain name registrars are: Vercel (convenient and reasonably priced) and Namecheap.
It is not recommended to purchase from domestic domain name registrars, as it may involve some filing issues and may not be easily indexed by Google later.
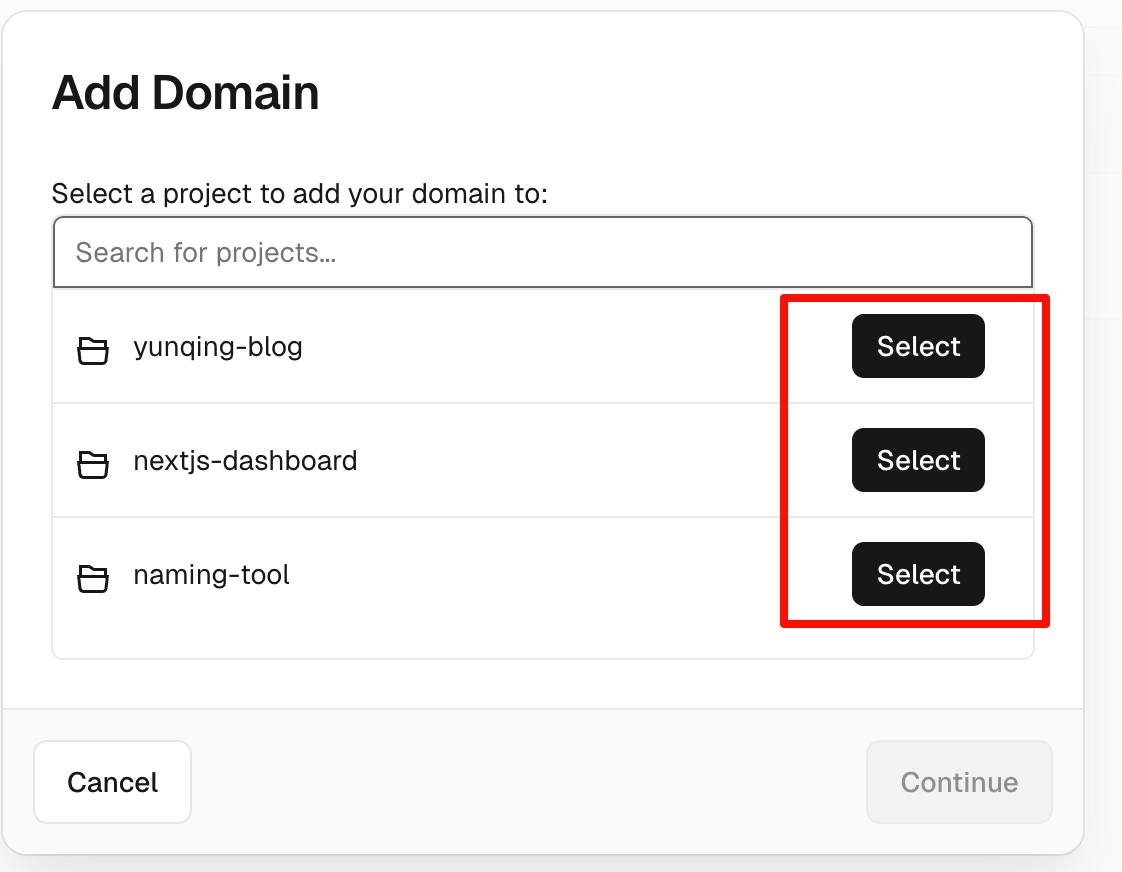
After you have your own domain name, go to your Vercel project space, click Domains, then click Add Existing. Select the project to which you want to add the domain name and click Select.
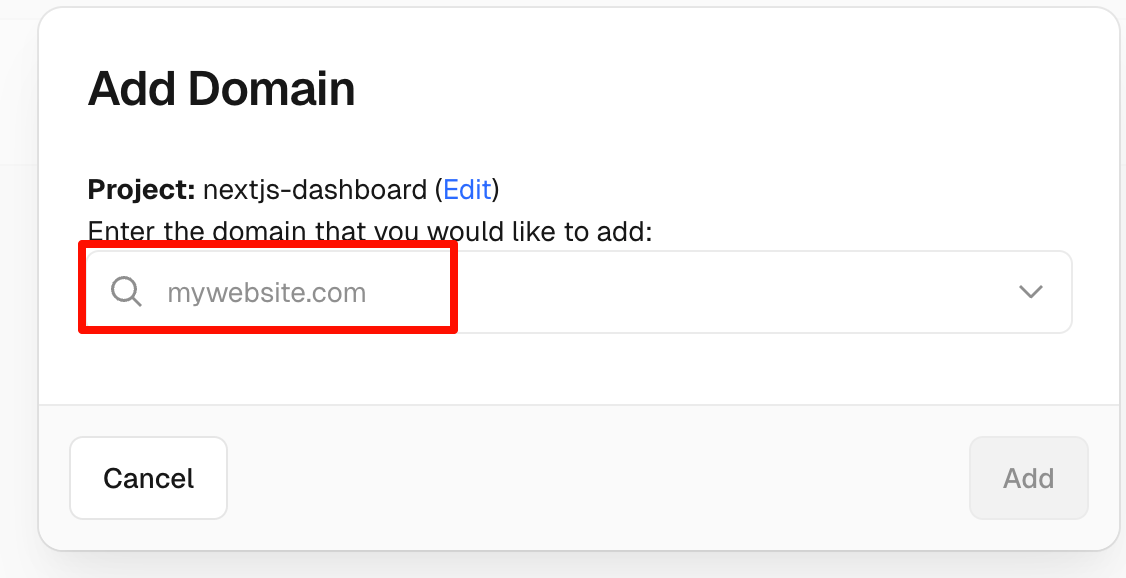
Enter the domain name you purchased (without www).
After adding the domain name, it cannot be resolved correctly yet because Vercel cannot verify whether you own the domain name.
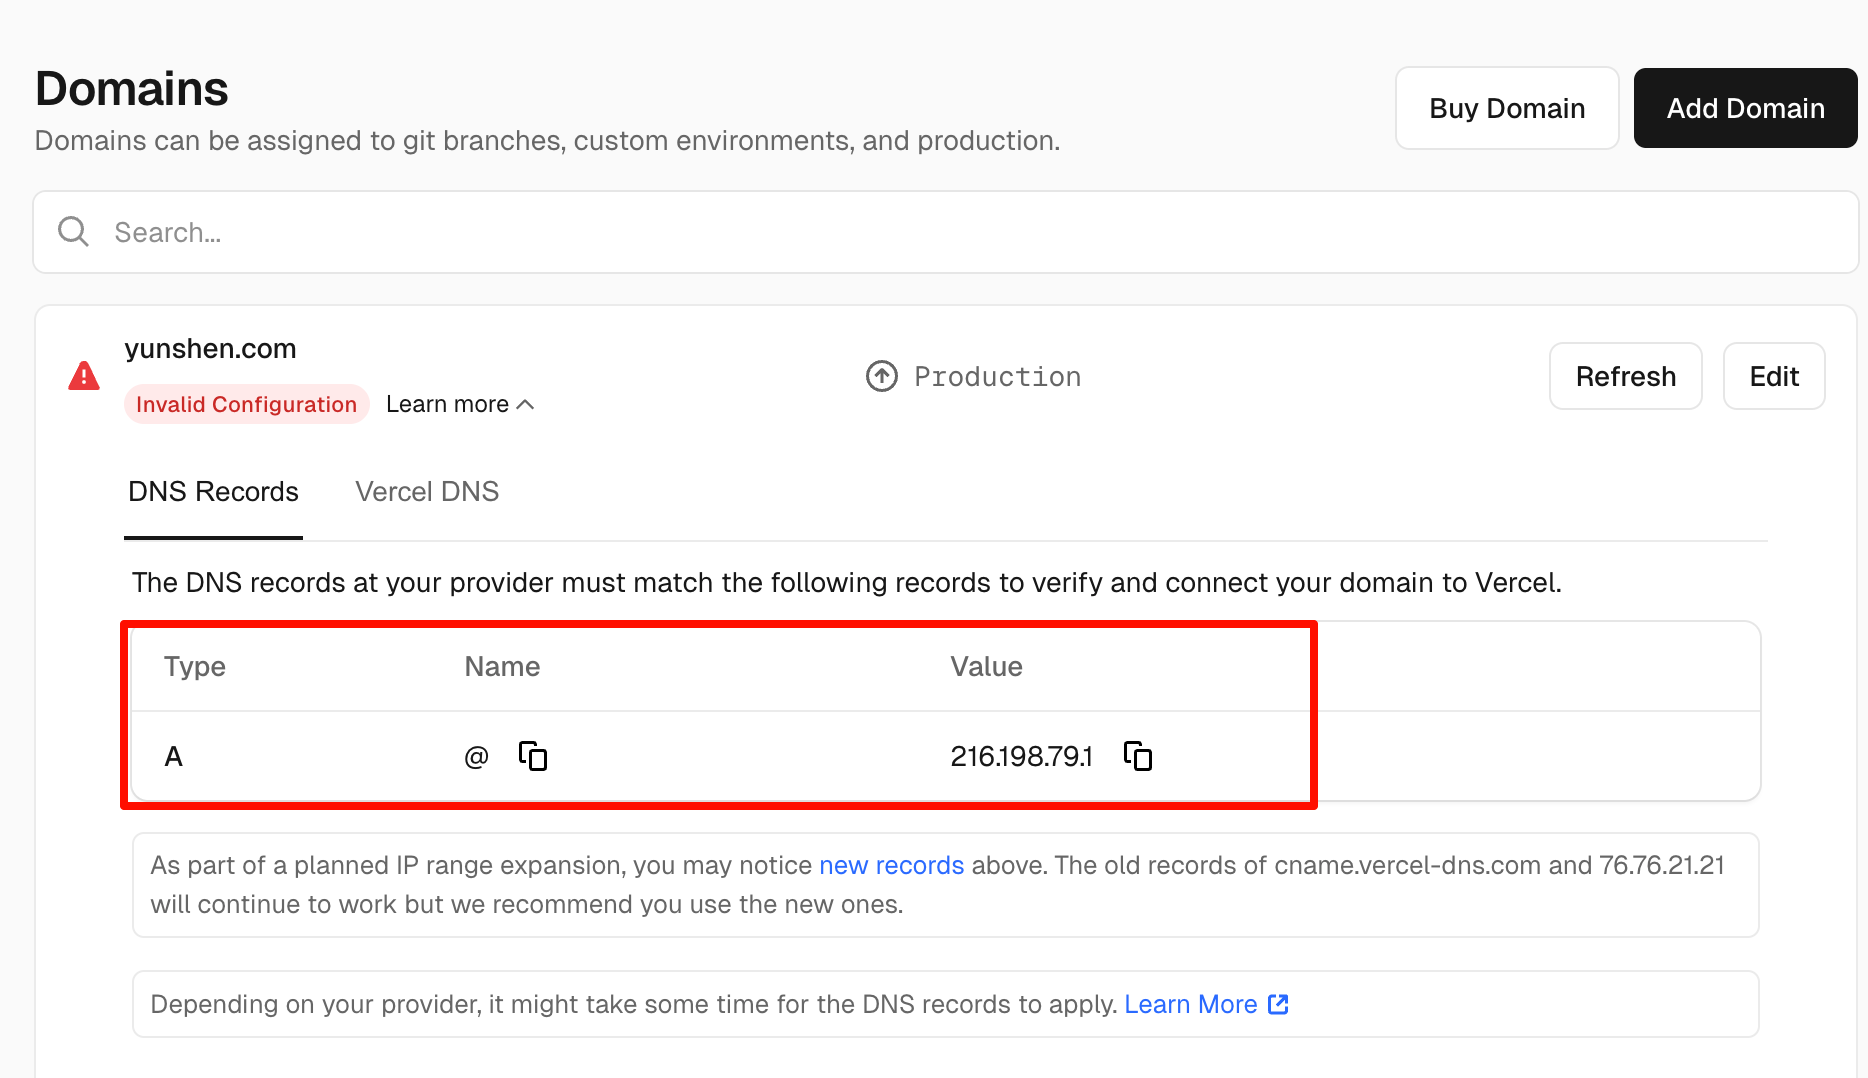
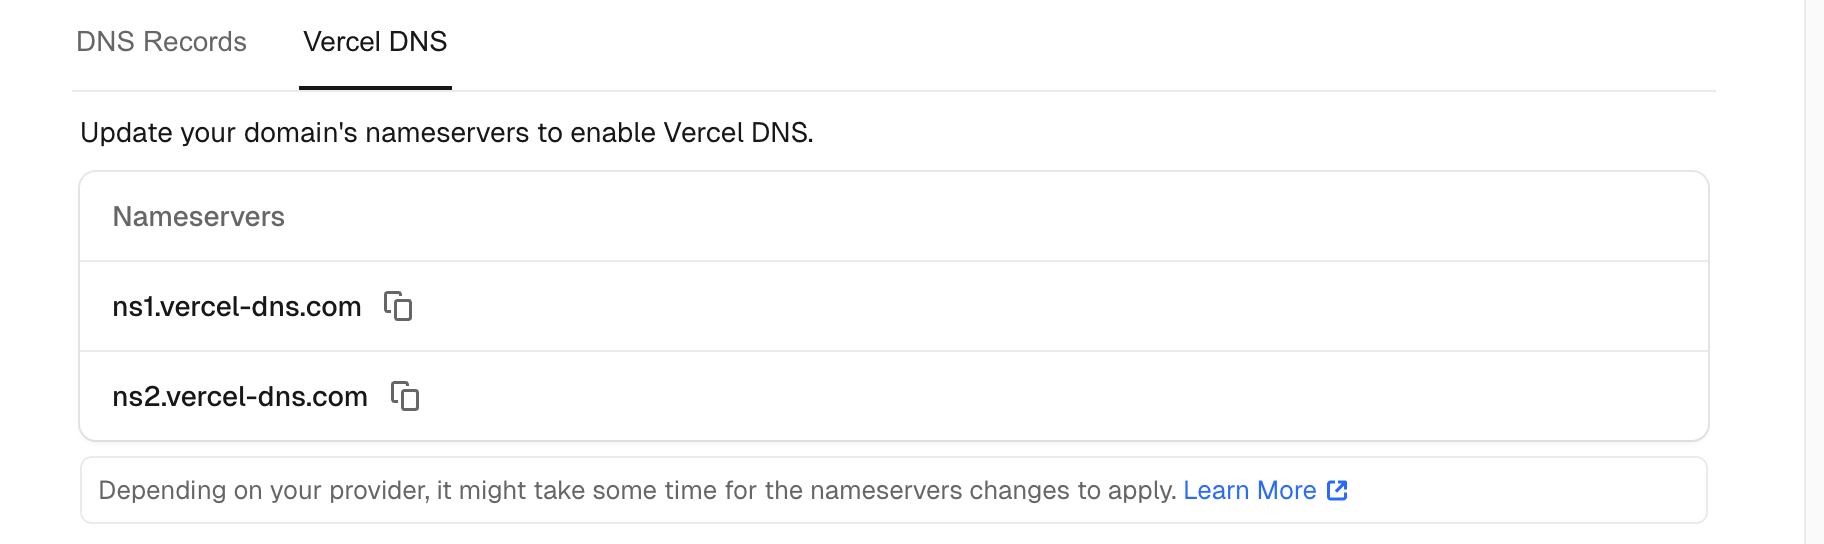
The red box in the image shows the DNS Records you need to add. You need to go to your domain name provider and add a DNS record. Additionally, Vercel requires you to add two nameservers for proper resolution.
After correctly adding the DNS Records, click Refresh. Once the domain ownership is verified, you can access your blog directly via the domain name.