I have been using LunarVim for a while now. In the past, I’ve used nvim, spacevim, and a series of other out-of-the-box vim software. Overall, LunarVim offers a smooth experience and makes adding plugins extremely convenient. However, installing LunarVim can be quite troublesome, so I wrote this article to help everyone with the installation.
Required Plugins for LunarVim
- Nvim v0.9.0+
- git
- make
- pip
- python
- npm, node
- cargo
- nerd font
- Optional: lazygit
Let’s proceed step by step with the installation.
Nvim v0.9.0+
In most Ubuntu systems, apt-get install cannot fetch the latest version of nvim. Therefore, we use the official recommended method from GitHub for direct installation.
Download the AppImage.
curl -LO https://github.com/neovim/neovim/releases/latest/download/nvim.appimagechmod u+x nvim.appimage./nvim.appimageThe above command will likely fail. If it fails, after running the above commands, run the following commands:
./nvim.appimage --appimage-extract./squashfs-root/AppRun --versionCreate a symbolic link for nvim. After executing the following code, the classic Nvim interface will appear, indicating that Nvim has been successfully installed.
sudo mv squashfs-root /sudo ln -s /squashfs-root/AppRun /usr/bin/nvimnvim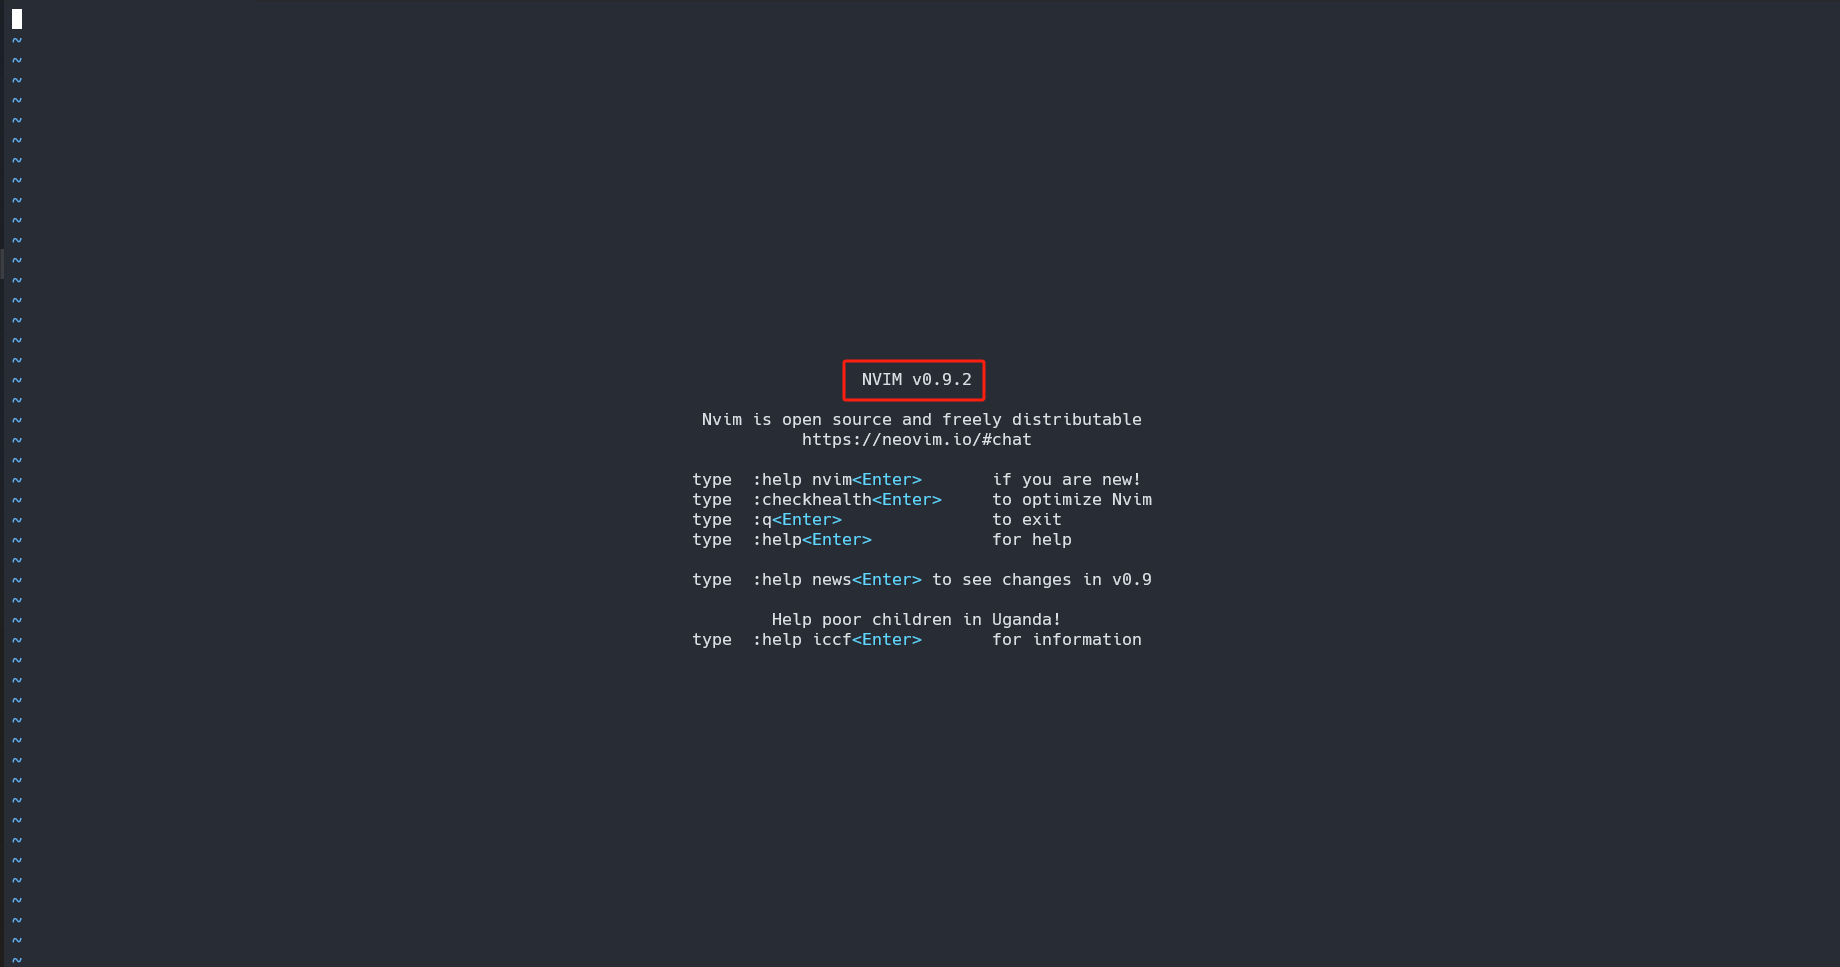
git
Most Ubuntu installations come with git pre-installed. If not, install it using the following command:
sudo apt-get install gitpip + python
pip is generally bundled with Python, so installing Anaconda will install both pip and Python.
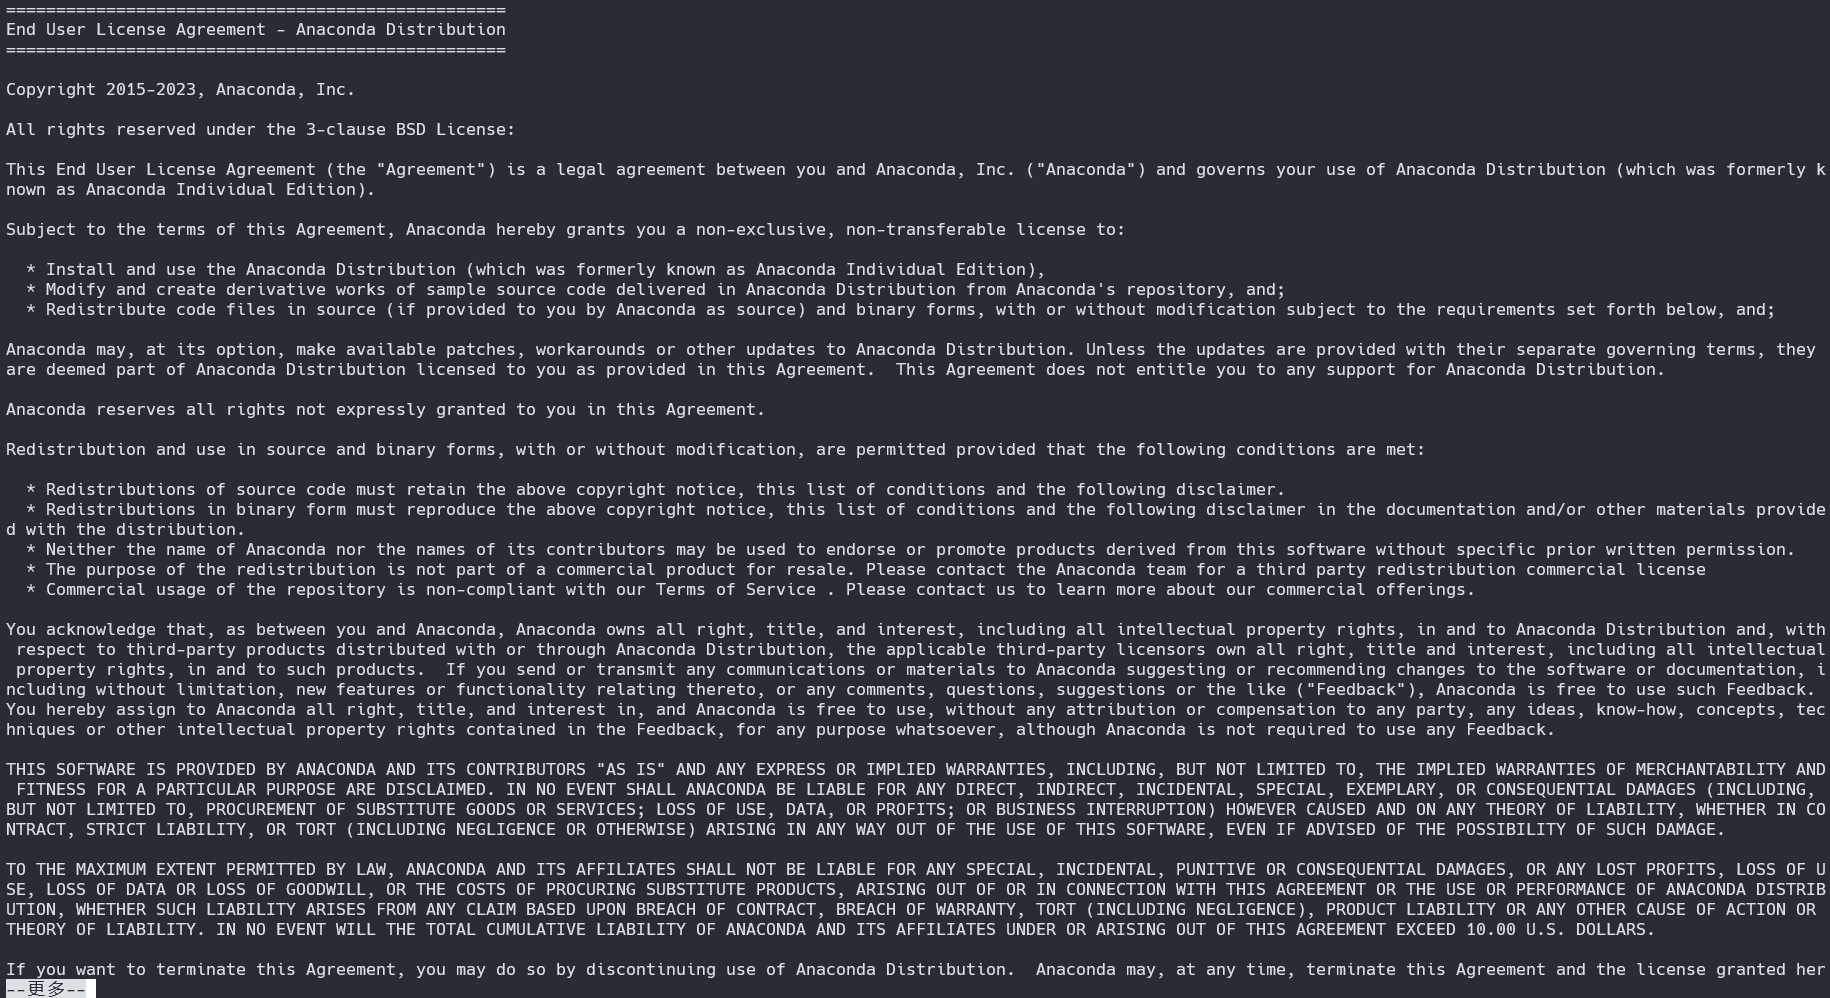
cd ~wget https://repo.anaconda.com/archive/Anaconda3-2023.09-0-Linux-x86_64.shbash Anaconda3-2023.09-0-Linux-x86_64.sh Press Enter.
 Press the down arrow key twice.
When asked if you accept the license terms, enter
Press the down arrow key twice.
When asked if you accept the license terms, enter yes.
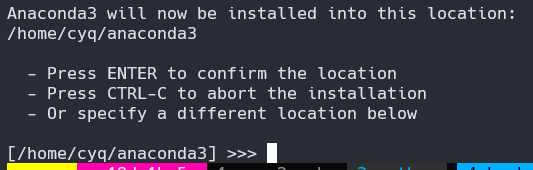 Here, you are asked if you want to change the installation path for Anaconda3. If you do not wish to change it, simply press Enter to proceed with the installation.
npm + node
npm and node are also installed together. Here, I choose the easiest method using nvm.
wget -qO- https://raw.githubusercontent.com/creationix/nvm/v0.34.0/install.sh | bashAfter installation, use nvm ls-remote to see the available versions. Choose the latest one. Here, I chose version 18.18.
nvm install v18.18.0After execution, npm and node will be installed.
cargo
cargo can be installed directly using this automated script:
curl https://sh.rustup.rs -sSf | shNerd font
Nerd Font is crucial for displaying various icons correctly in LunarVim.
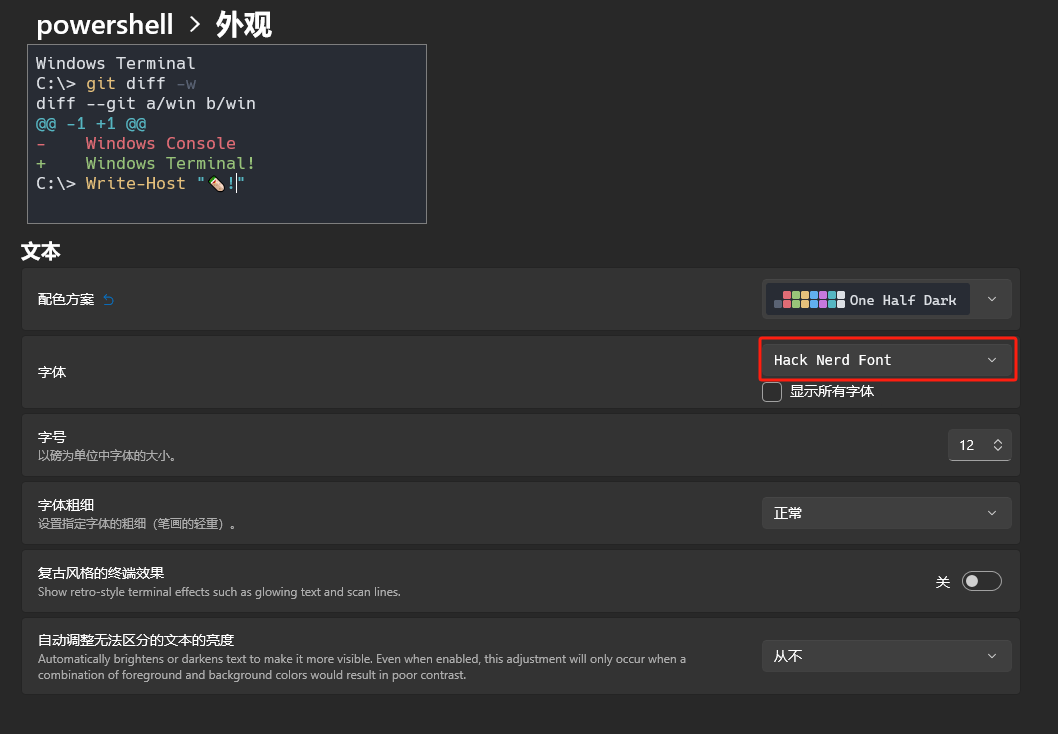
If you are a Windows user, you can directly download the required Nerd Font from the Nerd Font official website and install it. It is recommended to choose FiraCode. After installation, connect to the server via Windows Terminal SSH and change the font to the desired Nerd Font in the settings.
 If you are an Ubuntu user, refer to the recommended installation method provided by LunarVim.
lazygit
After installing lazygit, you can quickly open it in the LunarVim terminal using the shortcut <space><g><g>.
If you are not familiar with lazygit, please refer to the author’s GitHub link.
# Install lazygit. Note: This is only applicable to Ubuntu systems.LAZYGIT_VERSION=$(curl -s "https://api.github.com/repos/jesseduffield/lazygit/releases/latest" | grep -Po '"tag_name": "v\K[^"]*')curl -Lo lazygit.tar.gz "https://github.com/jesseduffield/lazygit/releases/latest/download/lazygit_${LAZYGIT_VERSION}_Linux_x86_64.tar.gz"tar xf lazygit.tar.gz lazygitsudo install lazygit /usr/local/binOfficial Installation of LunarVim
Use the official installation method provided:
LV_BRANCH='release-1.3/neovim-0.9' bash <(curl -s https://raw.githubusercontent.com/LunarVim/LunarVim/release-1.3/neovim-0.9/utils/installer/install.sh)During the process, if prompted, enter yes for all questions.
Great! By now, you have successfully installed LunarVim and can start using it.
If you cannot start LunarVim directly via the lvim command in bash, it is likely that your environment variables are not configured correctly. Refer to my configuration below (there will be a prompt after installing lvim).
Note: Replace user with your actual username.
export PATH="/home/user/.local/bin/:$PATH"Additionally, to avoid the hassle of typing lvim every time, you can add the following to your bashrc or zshrc:
alias vim=lvimThis maps vim to lvim. Remember to source to update.
My Configuration File
Since LunarVim is already extremely user-friendly out of the box, I haven’t made many personal configuration changes. Mainly, I set ESCAPE to jj and added some commonly used plugins.
Interested friends can fork and try it out~
https://github.com/QingYunA/lvim-conifg